Scripted Actions for Windows 365
This is an overview about how to use scripted actions in the context of Windows 365.
Important!: Before you start this topic, be sure that you have read Windows 365 Enable and Configure Cloud PCs.
Note: Nerdio Manager is set up so that you can use the same scripts for AVD and Windows 365 without any significant modifications.
To add a new scripted action:
-
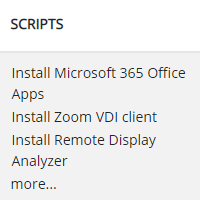
Navigate to Scripted Actions > Windows scripts.
Note: Only Windows scripts are relevant for Windows 365 scripted actions.
-
Select Add scripted action.
-
Enter the following information:
-
Name: Type the script's name.
-
Description: Type the script's description.
-
Tags: From the drop-down list, select the tag(s). Alternatively, type a new tag.
-
Script Executing Mode: From the drop-down list, select the script's execution mode.
-
Enable Cloud PC: You must select this option to enable this script for Windows 365.
-
Run this script using the logged on credentials: Select this option to run the script with the user's credentials. Otherwise, the script runs in the system context.
-
Enforce script signature check: Select this option to force the script to be signed by a trusted publisher. Otherwise, no warning or prompt displays and the script runs unblocked.
-
Run this script in 64 bit PowerShell host: Select this option to run the script in 64-bit PowerShell host for a 64-bit client architecture. Otherwise, the script runs in 32-bit PowerShell host.
-
Assign to all users: Optionally, assign the scripted action to all users.
-
Assign to all devices: Optionally, assign the scripted action to all devices.
-
Assign to selected groups: Optionally, assign the scripted action to selected groups. (Recommended)
-
Exclude assignments: Optionally, exclude members in the selected groups from applying the scripted action.
Note: Cloud PC security works with user groups and not with individual users.
-
-
Script: Type or copy/paste the script.
-
-
Once you have entered all the desired information, select OK.
Notes:
-
The script is now enabled for Cloud PC and is submitted to run on the Cloud PCs. This could take quite a long time to finish, possibly several hours.
-
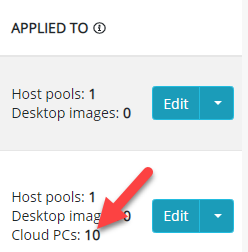
In the Windows Scripts list, the Applied To column is updated with the number of devices this script applies to.
-
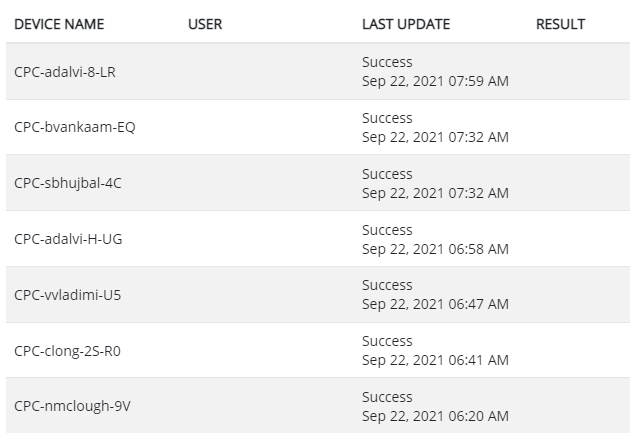
Select the number to see the detail log information.

-
In addition, you can navigate to Windows 365 > Cloud PCs. The Scripts column shows you all the scripts that have executed on the Cloud PC. Select any script to see its detail log information.